 Food has never been more expensive, nor more of a hassle. Why not grow your own? Some folks are hesitant to embark and what they think may be a complicated and even back-breaking effort. We’re here to help take all those worries away, and make gardening easy! Modern developments in watering and irrigation, pots that are perfect for balconies and porches, and an advent of more attractive growing lights, means you can be well on your way to a successful harvest into late Spring and Summer! Here’s all you need to know:
Shopping List
Seeds
Plant markers
Container with cover
Fertilizer granules
Seed starter mix
Misting spray bottle
Heating pad
Grow Light
 Step 1: Select your seeds
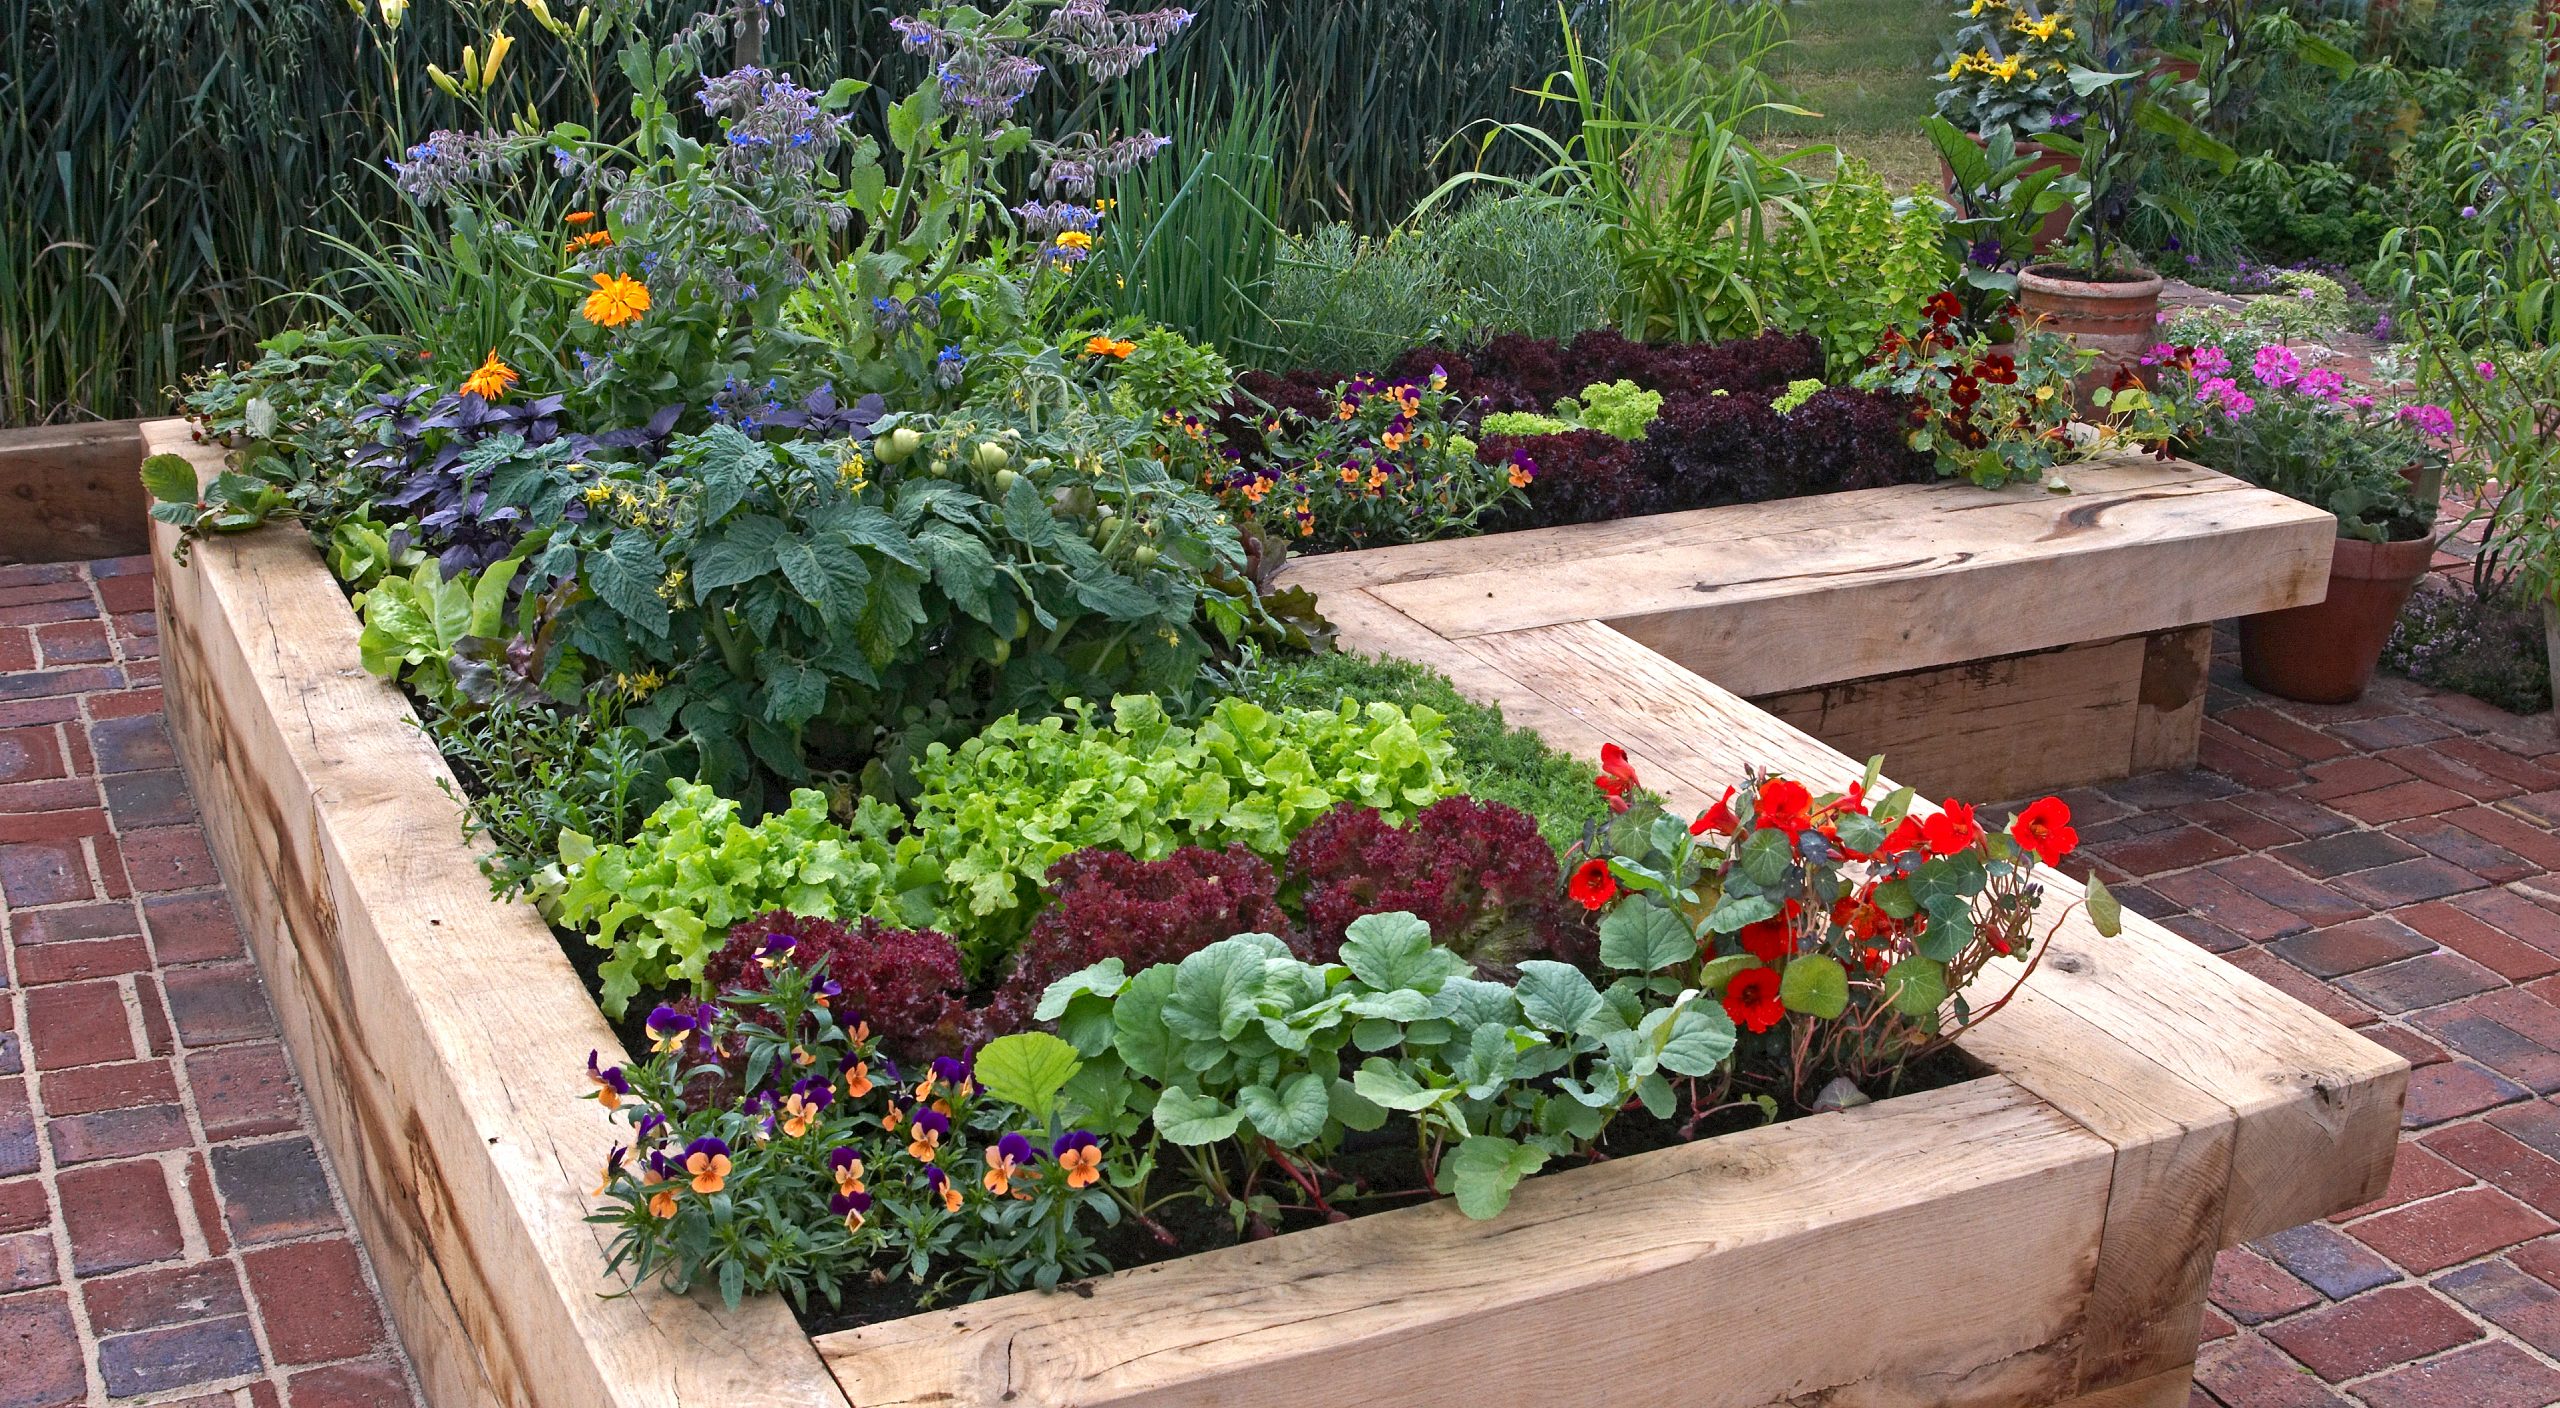
Homestead Gardens is proud to carry only the best seeds on the market! Look for Livingston Seeds, Better Botanicals, Southern Seed Exchange, Renee’s Garden and Cornucopia Seeds in our Lawn & Garden Supply department. As you consider what type of garden you want to grow (Herbs? Veggies? Flowers? Squashes?) and the space where you will be growing (In ground? Raised bed? Patio pots?), you will need to look for seeds which produce plants that will flourish in place.
Check the seed packet for:
✓ expiration date
✓ number of weeks to germination
✓ planting depth
✓ watering requirements
✓ light requirements
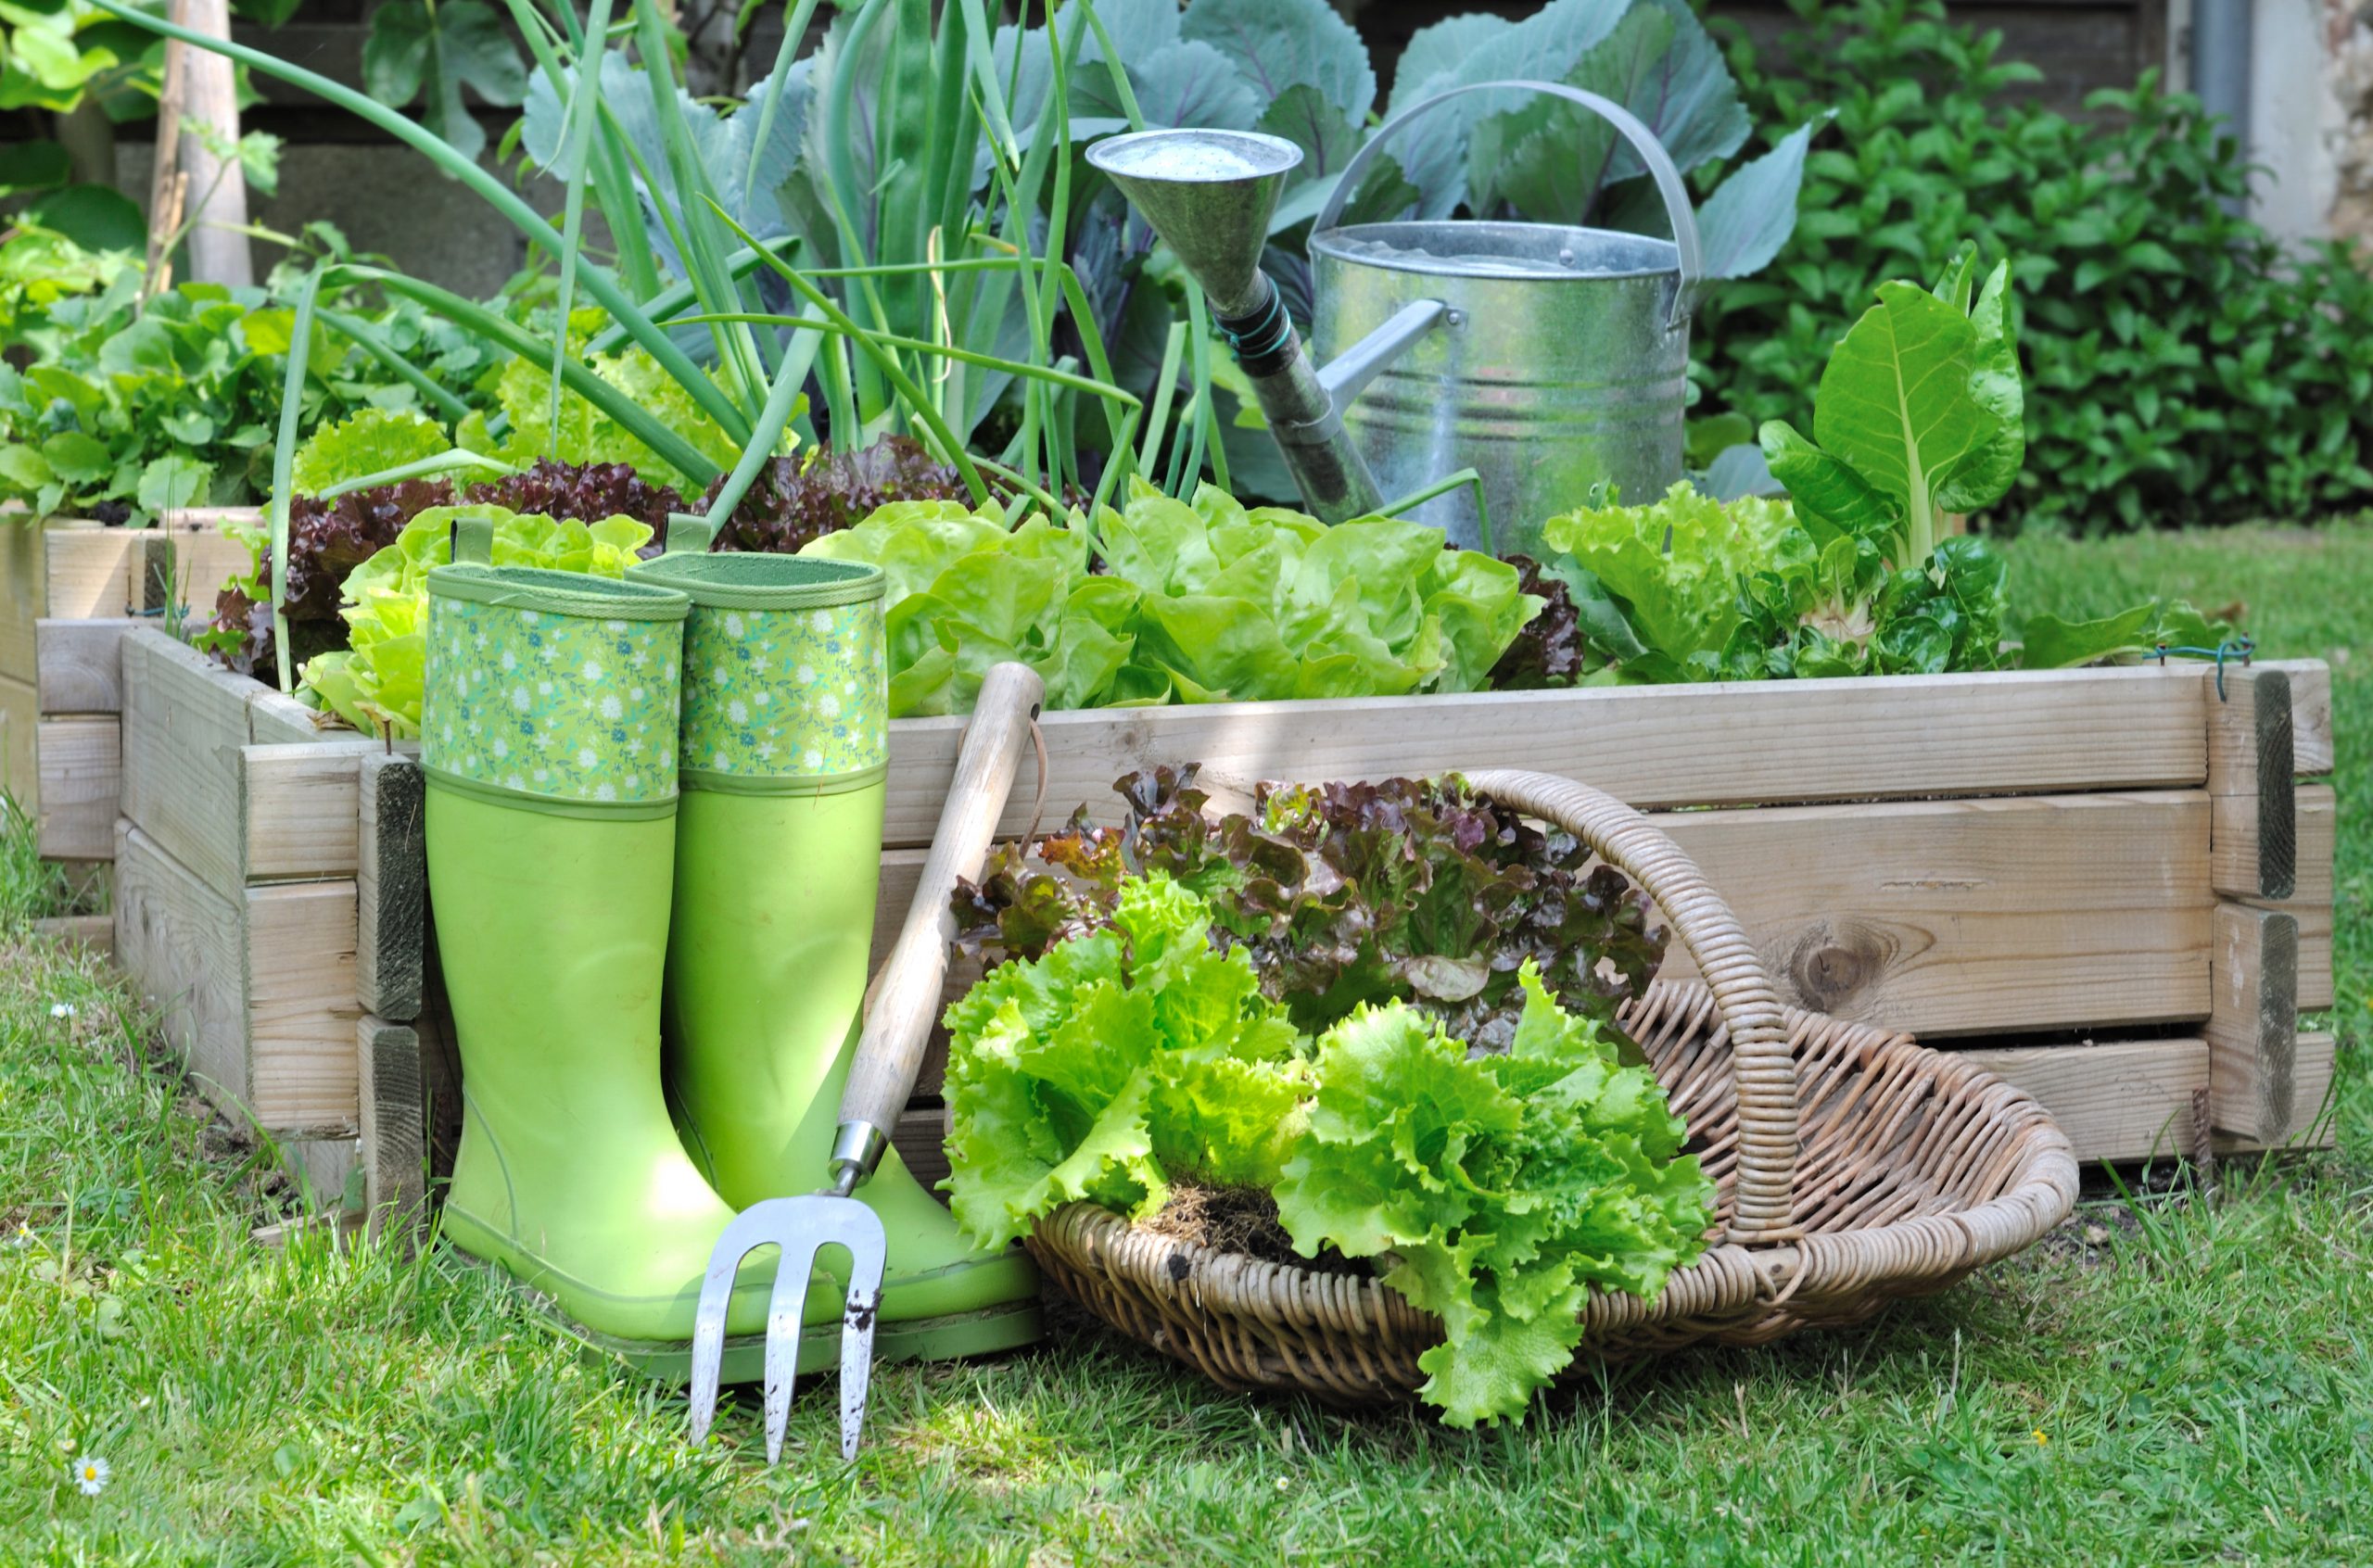
Step 2: Select your container
You can plant your seeds in just about any container that has drainage, but we recommend something shallow and small enough to place in a warm spot in your home or shed. Botanical Interest has a great two-tiered plastic tray that makes watering a cinch. You can try a simple approach of planting directly into a tray, or you can place individual cells on the tray (a peat pot, egg carton, Botanical Interest recycled paper pots or even an egg shell will do).
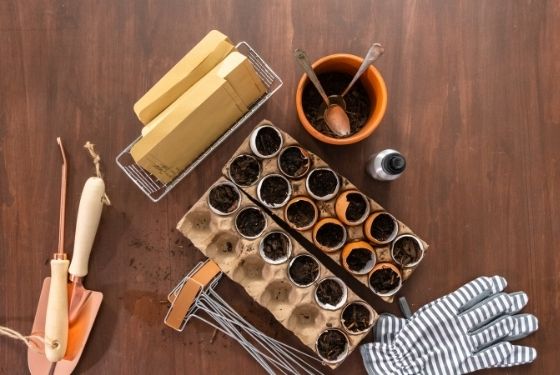

Step 3: Plant your seeds
1. Cover the tray with a thin layer of seed starter mix (we recommend Espoma Organic Seed Starter)
2. Moisten soil lightly with a spray mister
3. Soak or Scarify your seeds
 4. Add fertilizer granules, we recommend just 2-3 per cell
5. Repeat Step 1 to cover fertilizer with seed starter mix
6. Add seeds, about 3-4 per cell
7. Repeat Step 1, then mist with water
8. Cover; set in a warm, lit place. We recommend a seed starting heat pad or grow lights, available in all our store.
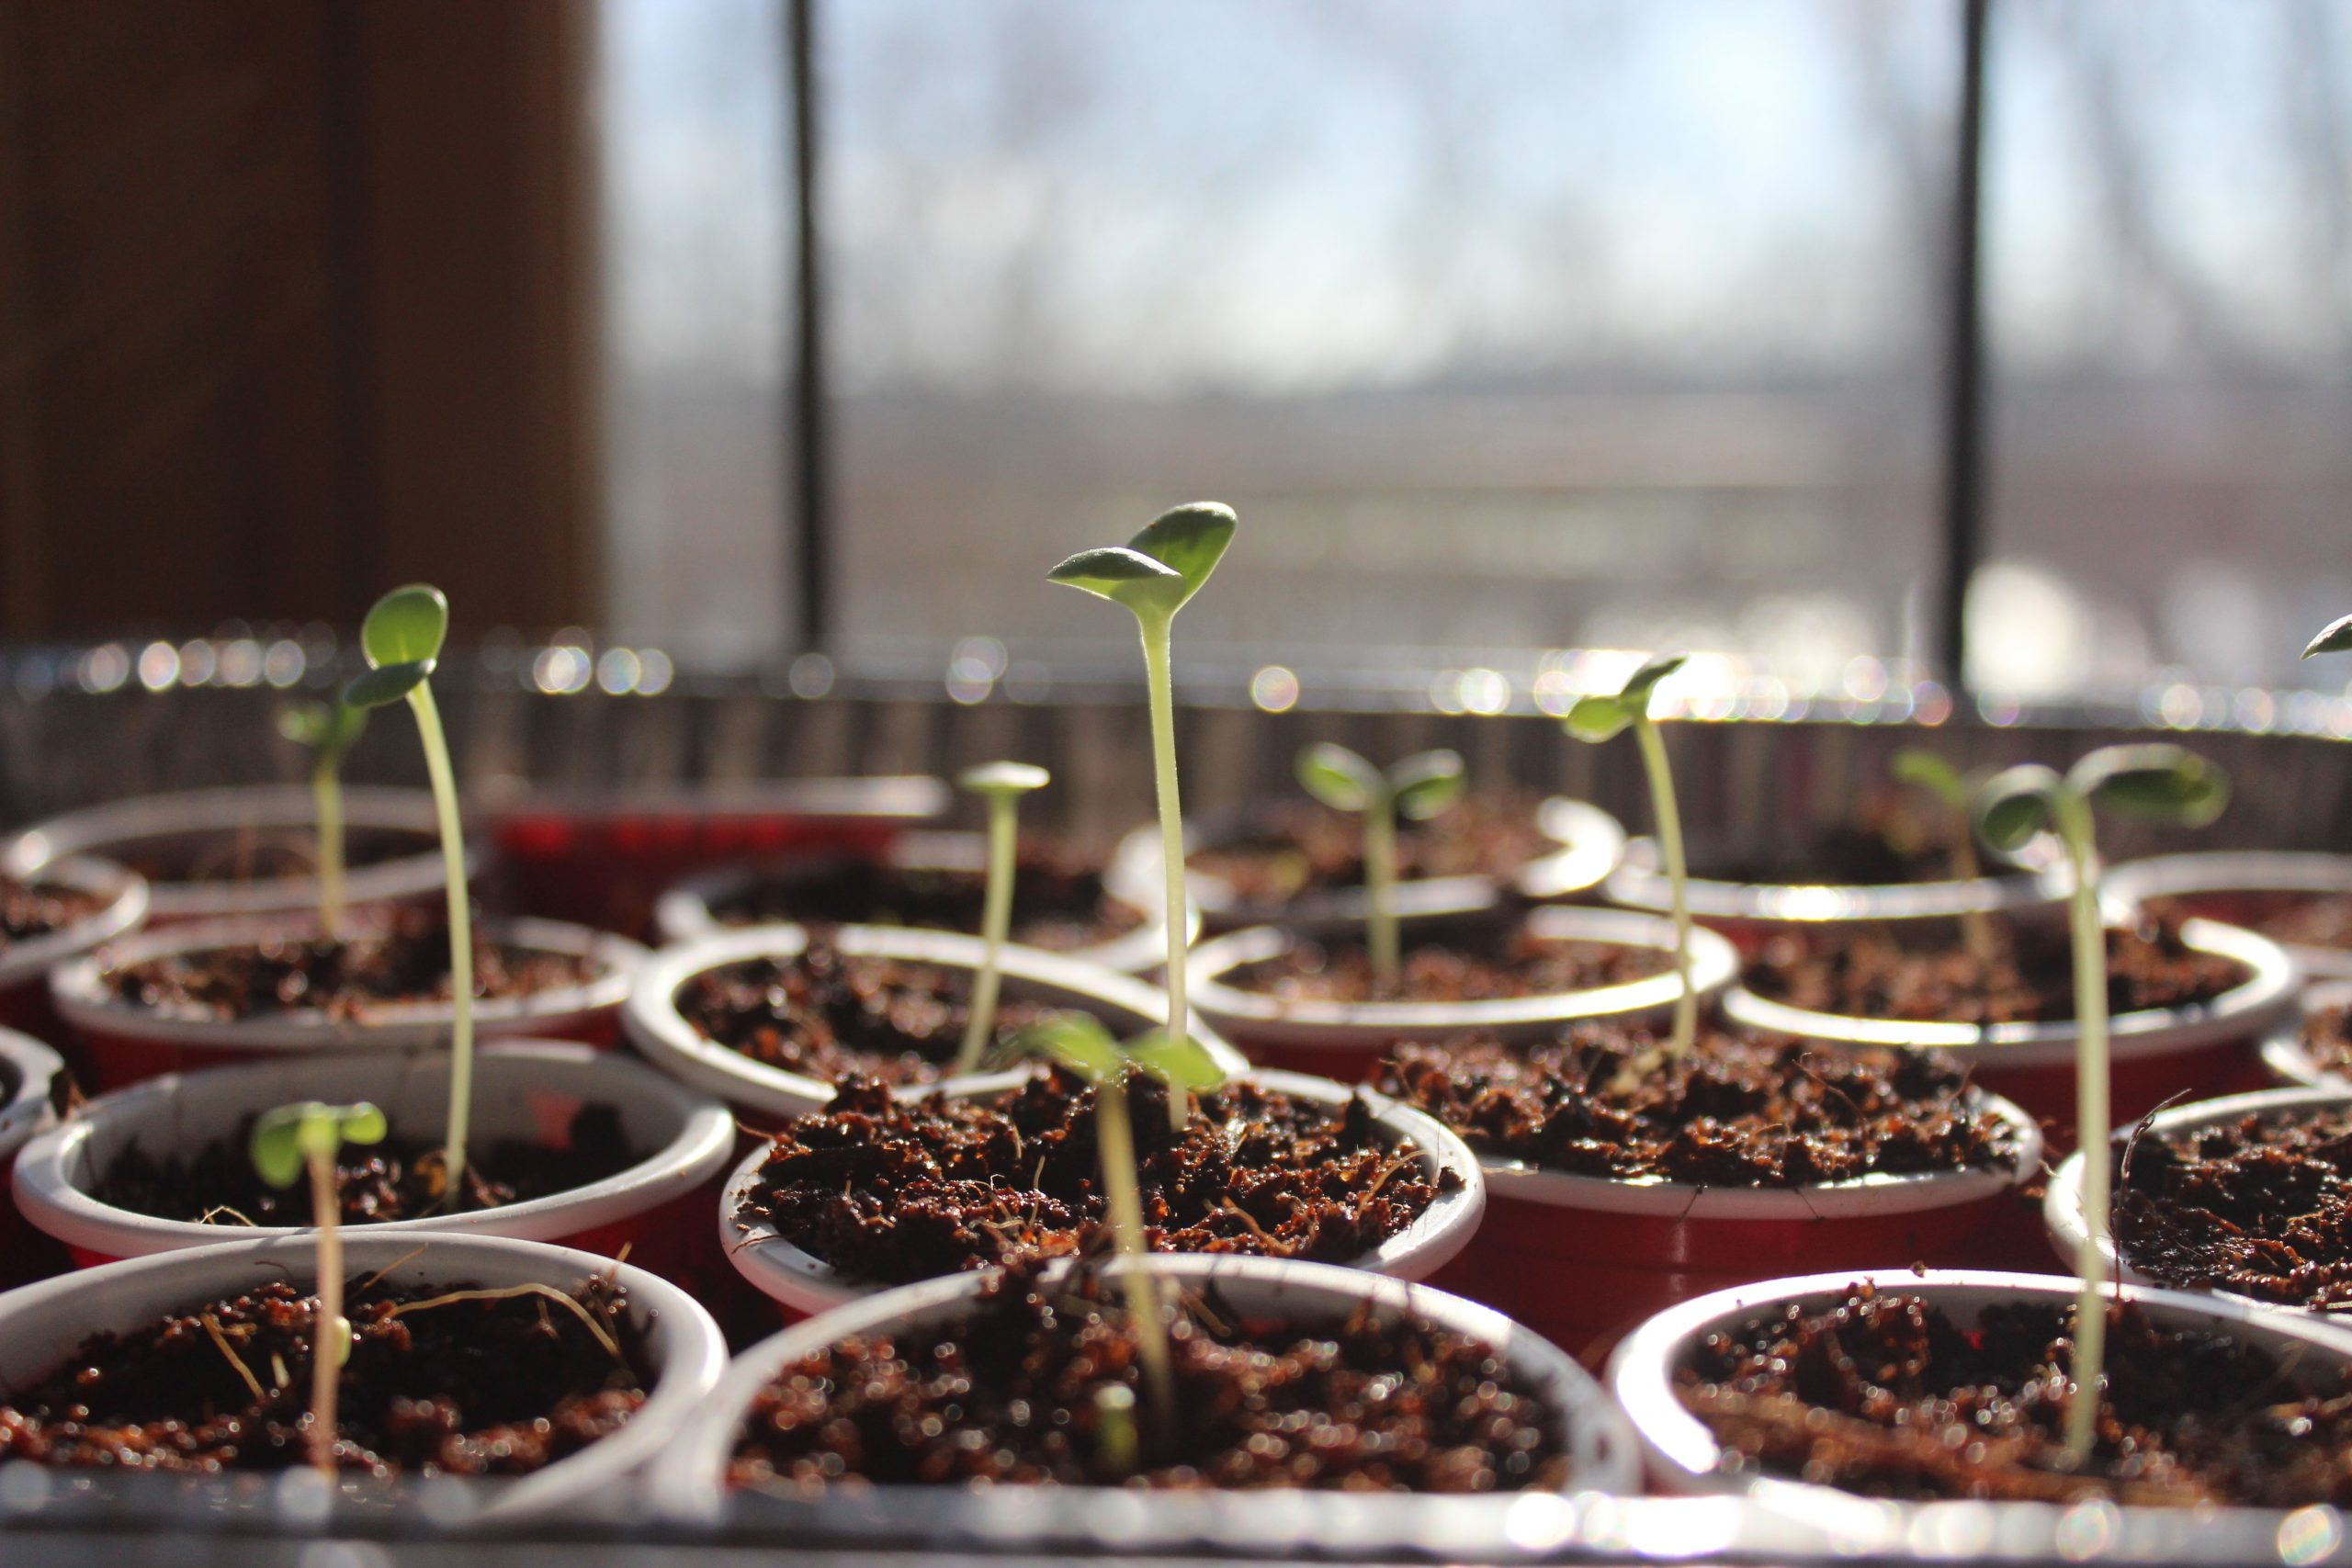
Step 4: Care for your seedlings
✓ Always water your seedlings from the bottom. Check the water level daily.
✓ Make sure seedlings receive enough light and warmth.
✓ When the majority of seeds have sprouted, remove the cover to prevent seedling wilt.

 STEP 5: Harden Off Seedlings
Your seeds have tiny embryos inside that will unfurl and grow when exposed to food, light and warmth, kind of like us humans! That growth is called germination. When your seeds have germinated and grown true leaves, it’s time to acclimate them to outside conditions. This slow and gentle introduction to the world is called “hardening off”. Rapid exposure to the heat of the sun, wind, rain and other climate changes can cause shock and damage. will germinate. Instead, let your plant babies learn about the world around them a few minutes and then a few days at a time.
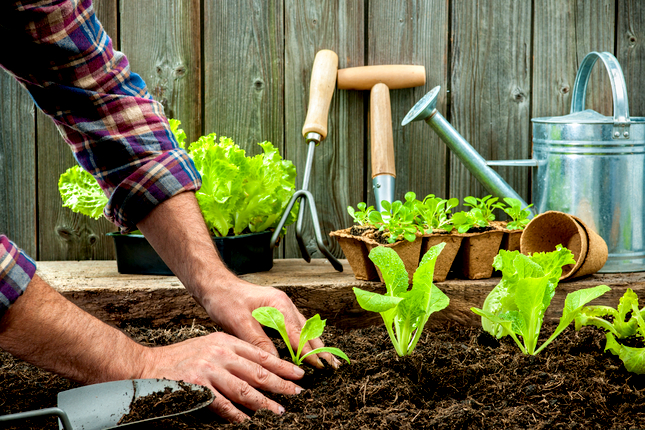
Once seeds have a set of “true leaves” you can begin to take them outside, after chance of frost, in increasing increments of time each day, for 6-10 days. Once your plants are ready, you can transfer to the garden. You’ll need potting soil made for harvest. We recommend an organic mix. Don’t forget to feed and fertilize your plants, water appropriately, and enjoy the fruits of your labor with each bite when you harvest!